Wednesday 15 March 2017

Karate Champ (bootleg) pcb repair

I've had this one stored away for years and now finally got around to making a jamma adapter for it. It just displayed a screen of static garbage, it looked like the cpu (Z80) wasn't running so started there. The clock and reset were working so next I removed the cpu as it was socketed and checked it in my tester, it was fine.


I then moved on to the TTL chips surrounding the cpu, I found a 74LS245 @C12 with two output pins (11 and 13) stuck low and all the inputs were pulsing away nicely. I cut these two pins and checked them with a logic probe at the board and the lines were now floating instead of low, this confirmed that the 245 was bad and that it wasn't something else on the lines forcing them low.

 Socket and new 74LS245 fitted.


After replacing a few damaged capacitors repair complete.

Tuesday 7 March 2017

Sidearms pcb repair

The next pcb from that faulty lot of four to go on the bench is a original capcom Sidearms. This one had sprite issues much like the 1943 pcb. The player and enemy sprites were missing with just the odd glitch showing up.


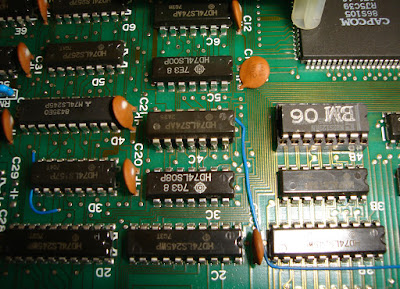
Again like the 1943 pcb I checked the bottom pcb near the graphics roms but this time didn't find any problems. This just leaves the custom chip which I did suspect from the start but it's best to rule out the easy stuff first just incase. Luckily I had a non working Block Block pcb with the same custom chip (86S105) in the scrap pile.

Even with the desuicide mod / roms this Block Block board was not booting so I had no way of knowing if I was swapping one bad 86S105 for another.

Replacement 86S105 fitted. 

Luckily the custom was fine. :)

Thursday 2 March 2017

1943 pcb repair

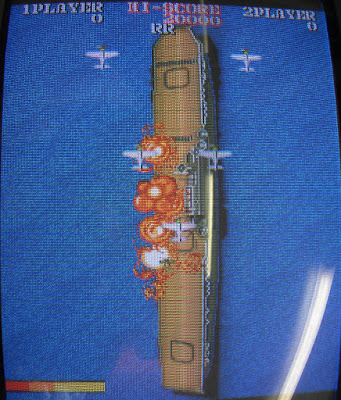
I bought this 1943 pcb in a lot of four faulty boards, it was shown as having sprite glitches in the ebay auction. I used dip switch 2 to pause the board on the explosion that happens at the very start of the game as this is very easy to see unlike some of the more minor issues.

Using mame I found that the explosion sprite is stored in eproms 6 and 10 on the bottom pcb so I focused on this area.


After pocking around a bit with the logic probe I found that probing the 74LS74 @4C caused the image to get worse. I stuck the logic comparitor on it but it didn't report any issue. I wasn't conviced though and piggybacked a known good 74LS74 on the one at 4C.


This completely fixed the issue.

I soldered in the replacement, repair complete.

Taito F3 Region Free mod

Taito F3 motherboards have plastic pegs / keys in the connectors stopping you from plugging in cartridges from different regions. Capcom did a similar thing with CPS2 motherboards, having certain regions use different connectors. Anyway these pegs are the only thing stopping you from plugging in and playing a cartridge from another region, there are no other security measures. So an hour with a soldering iron and sharp knife you've got yourself a region free motherboard.


I forgot to do a before picture but this is one of the four connectors with the two plastic pegs removed, I suspect the 6 pins on each connector aren't even used and it would be easier to remove the pins and just snap the plastic off with a pair of needle nose pliers. As I wasn't sure if this is the case as I only have a euro cart I did it this way, which I guess is considered the 'proper' way.